本站诞生啦
✨文章摘要(AI生成)
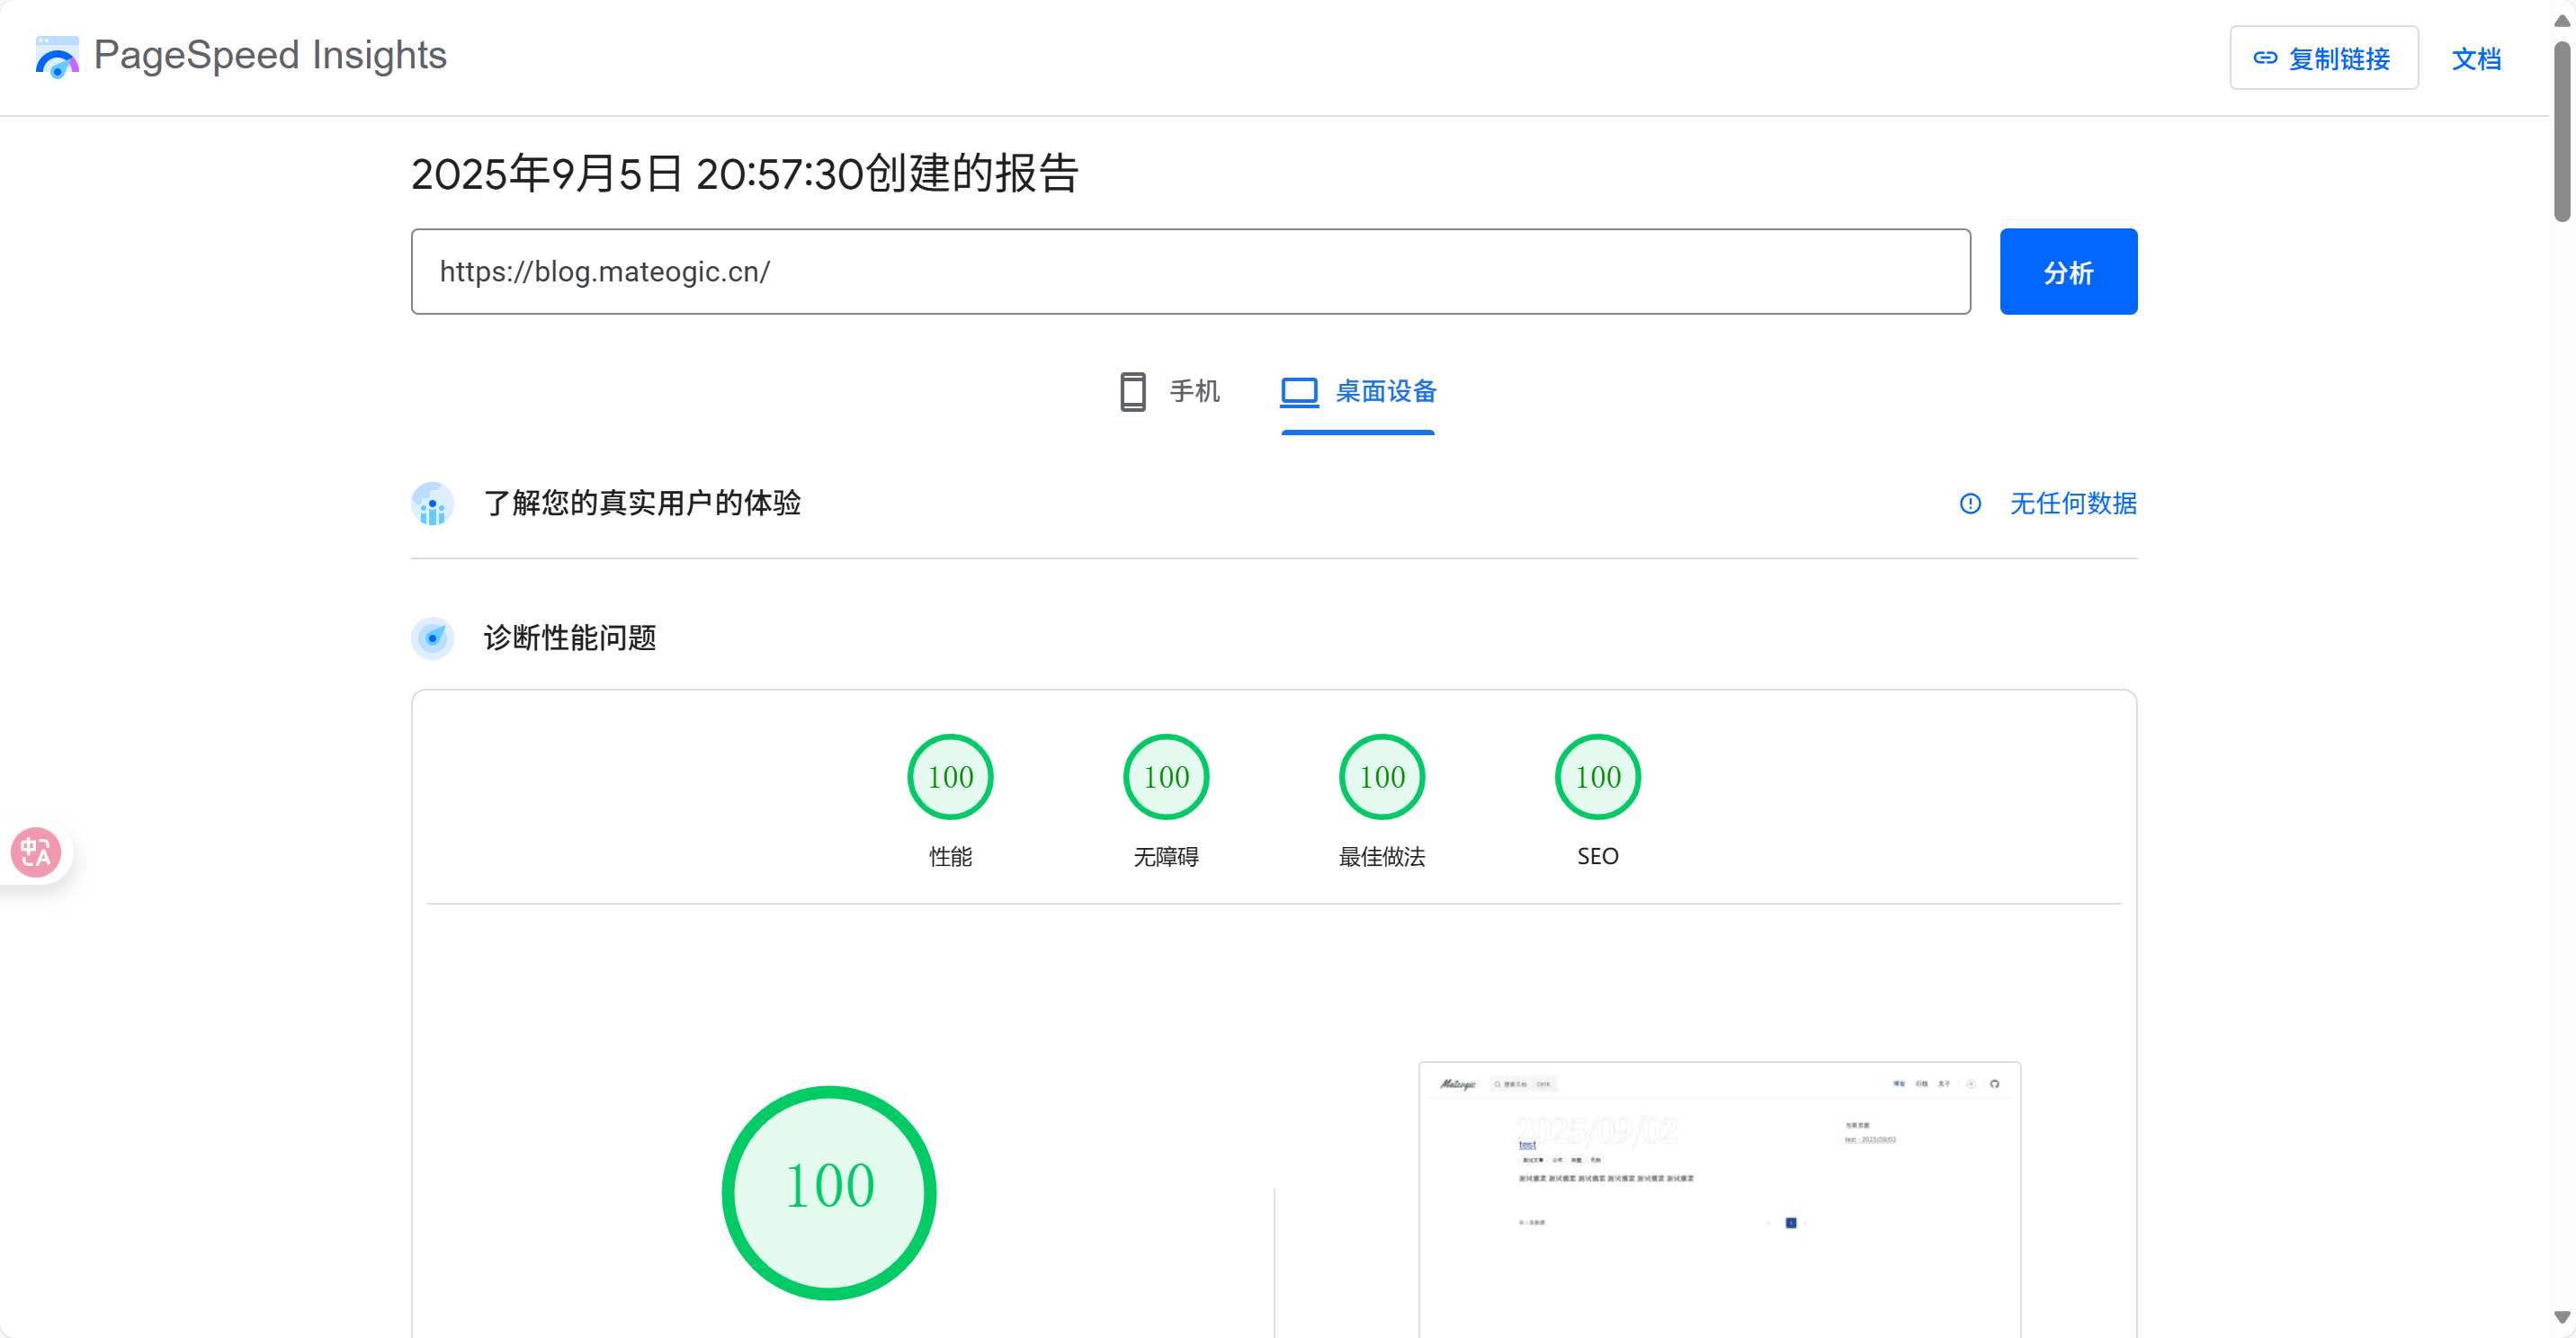
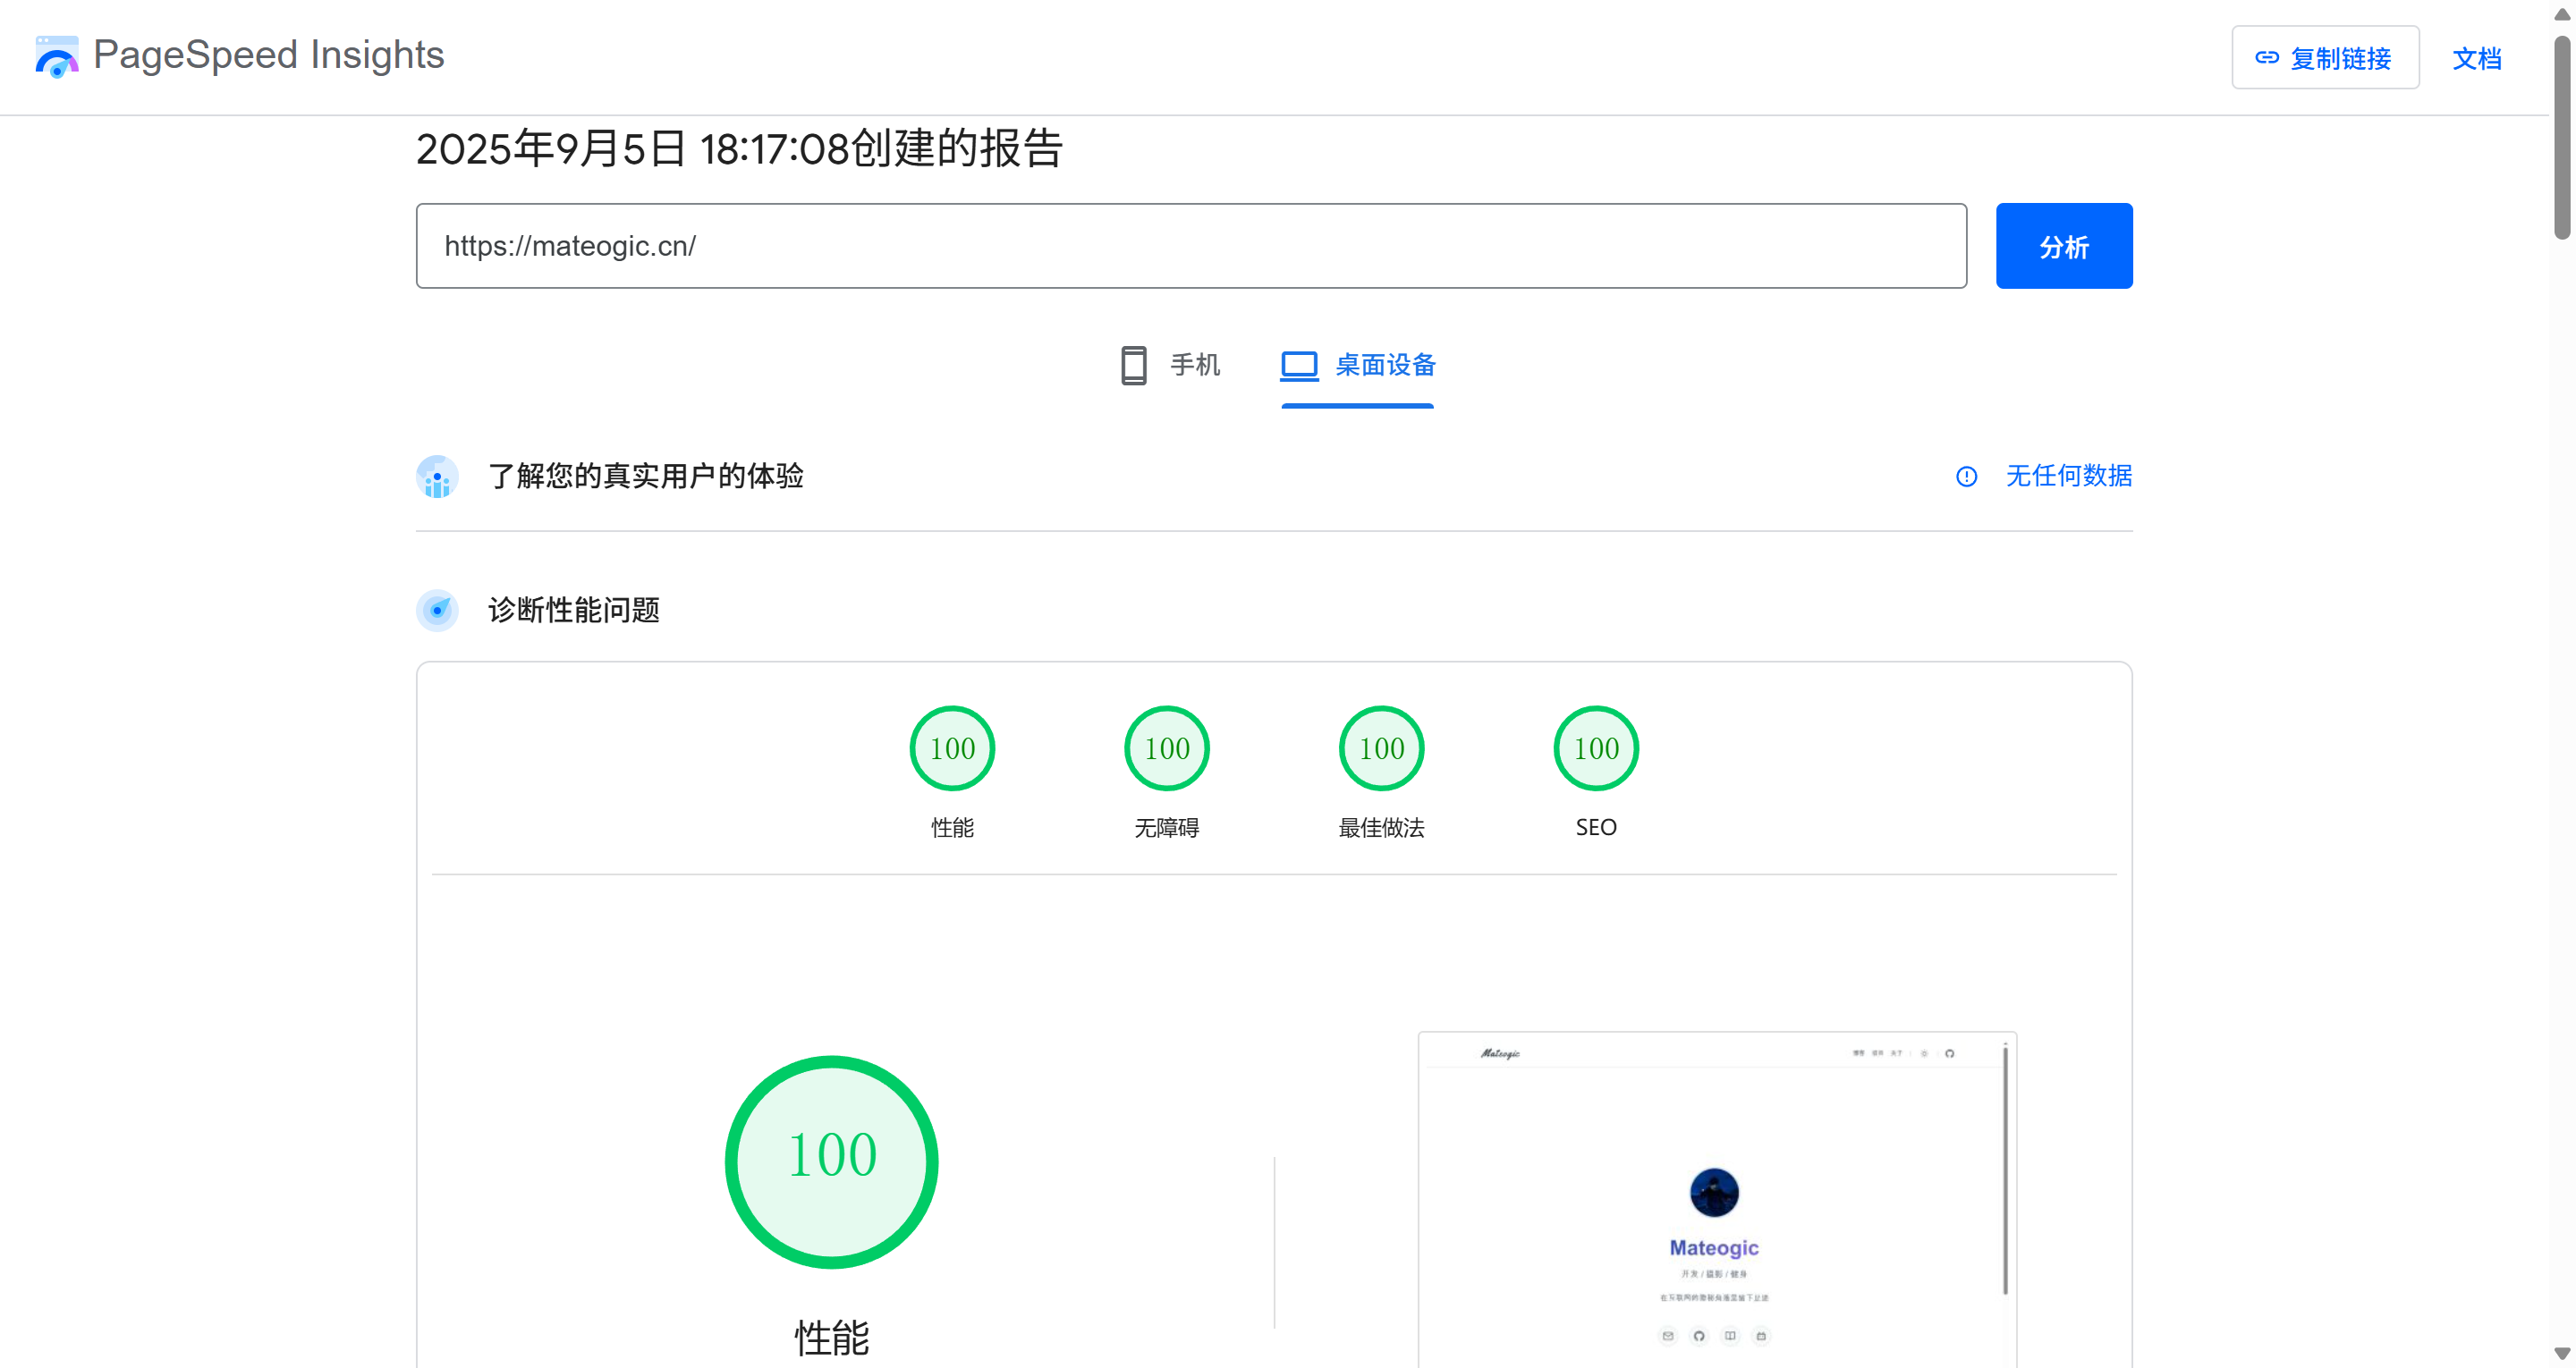
本文展示了使用 LightHouse 测试博客首屏和个人主页的报告,记录了如何创建、部署本站的过程及配置。
之前折腾过一些博客和个人主页,但受限于种种因素(没有发现喜欢的主题、没有很多想写的内容),总是草草作罢。希望这次可以多记录一些内容,可能包括但不限于技术文档、个人想法(正经人谁写日记啊)、项目展示、摄影作品。总之,本站是一个功能相对完整的静态博客,改造自justin3go。本站去除了笔记、赞助、其它语言等功能,更改了深色主题的配色,增加了我的个人主页,并根据LightHouse插件测试报告尝试做了些许优化,现将测试报告及部署配置记录如下。
LightHouse测试报告
博客首屏
个人主页
部署配置
本站使用 pnpm 构建静态页面,并通过 GitHub Actions 将编译产物自动发布到服务器上的 NginX 容器。整体流程分为:本地/CI 构建 → 产物上传到服务器 html/ 目录 → docker-compose 管理的 Nginx 容器挂载该目录直接提供静态文件。
目录与构建说明
- 博客主体:基于 VitePress,执行
pnpm run docs:build后输出到docs/.vitepress/dist。 - 个人主页:放在仓库
homepage/目录,执行pnpm run homepage:rev(scripts/rev-homepage.mjs)对静态资源(如css/js/font)加入指纹(适配强缓存 &immutable)。 - 服务端主要目录结构:
~/blog/
  ├── docker-compose.yml
  ├── html
  │   ├── blog     # 个人主页静态文件
  │   └── homepage # 对应 VitePress 构建产物
  └── nginx
      ├── conf.d
      │   ├── default.conf
      ├── logs
└── nginx.conf- 容器内主要目录结构:
/usr/share/nginx/html/
  ├── blog/       # 对应 VitePress 构建产物
  └── homepage/   # 个人主页静态文件
GitHub Actions 配置文件
该文件放置于 .github/workflows/deploy.yml,需自行配置仓库的 Secret Variebles:
- BLOG_PATH
- BLOG_SERVER_HOST
- BLOG_SERVER_SSH_KEY
- BLOG_SERVER_USER
yaml
name: Deploy Blog

on:
  push:
    branches:
      - main

jobs:
  build-and-deploy:
    runs-on: ubuntu-latest
    env:
      # 统一 locale 避免某些依赖因环境差异输出中文或报错
      LANG: en_US.UTF-8
    steps:
      - name: Checkout
        uses: actions/checkout@v4

      # 安装 pnpm (不自动执行 install)
      - name: Setup pnpm
        uses: pnpm/action-setup@v4
        with:
          version: 10
          run_install: false

      # 设置 Node 并启用 pnpm 缓存
      - name: Setup Node
        uses: actions/setup-node@v4
        with:
          node-version: 20
          cache: 'pnpm'

      - name: Install dependencies
        run: pnpm install --frozen-lockfile

      - name: Build static files
        run: pnpm docs:build

      - name: Revision homepage assets
        run: pnpm homepage:rev

      # 配置 SSH (使用私钥 secret)
      - name: Setup SSH
        uses: webfactory/[email protected]
        with:
          ssh-private-key: |
            ${{ secrets.BLOG_SERVER_SSH_KEY }}

      - name: Add known_hosts
        run: |
          mkdir -p ~/.ssh
          ssh-keyscan -H ${{ secrets.BLOG_SERVER_HOST }} >> ~/.ssh/known_hosts

      - name: Deploy (rsync)
        env:
          BLOG_SERVER_USER: ${{ secrets.BLOG_SERVER_USER }}
          BLOG_SERVER_HOST: ${{ secrets.BLOG_SERVER_HOST }}
          BLOG_PATH: ${{ secrets.BLOG_PATH }}
        run: |
          rsync -avz --delete ./docs/.vitepress/dist/ $BLOG_SERVER_USER@$BLOG_SERVER_HOST:$BLOG_PATH/blog/
          rsync -avz ./homepage/ $BLOG_SERVER_USER@$BLOG_SERVER_HOST:$BLOG_PATH/homepage/

      - name: Restart Nginx container
        env:
          BLOG_SERVER_USER: ${{ secrets.BLOG_SERVER_USER }}
          BLOG_SERVER_HOST: ${{ secrets.BLOG_SERVER_HOST }}
        run: |
          ssh $BLOG_SERVER_USER@$BLOG_SERVER_HOST "docker restart blog"
说明:由于只是静态文件更新,且使用只读挂载,通常无需重启容器(Nginx 直接读取新文件),可省略“重载容器”步骤。
docker-compose 配置文件
服务器端 docker-compose.yml:
yaml
version: '3.8'

services:
  nginx:
    image: nginx:1.19.4
    container_name: blog
    ports:
      - "5174:80"  # 博客端口映射 (blog.mateogic.cn)
      - "5175:81"  # 主页端口映射 (mateogic.cn)
    volumes:
      - ./nginx/nginx.conf:/etc/nginx/nginx.conf:ro
      - ./nginx/conf.d:/etc/nginx/conf.d:ro
      - ./nginx/logs:/var/log/nginx
      - ./html:/usr/share/nginx/html:ro
    restart: always
这里把容器 80 / 81 端口分离:80 提供博客,81 提供主页。宿主层使用 5174/5175 是为了避免与主机上可能存在的其他 80/443 服务冲突,或留待后续接入统一反向代理(如 Nginx Proxy Manager)。
Nginx 配置文件
conf
# nginx.conf
user nginx;
worker_processes auto;
error_log /var/log/nginx/error.log warn;
pid /var/run/nginx.pid;

events {
    worker_connections 1024;
}

http {
    include /etc/nginx/mime.types;
    default_type application/octet-stream;

    log_format main '$remote_addr - $remote_user [$time_local] "$request" '
                    '$status $body_bytes_sent "$http_referer" '
                    '"$http_user_agent" "$http_x_forwarded_for"';

    access_log /var/log/nginx/access.log main;

    sendfile on;
    keepalive_timeout 65;

    # 开启 gzip
    gzip  on;
    # 开启静态 .gz 文件返回
    gzip_static on;
    # 启用 gzip 压缩的最小文件,小于设置值的文件则不会被压缩
    gzip_min_length 1k;
    # 设置压缩所需要的缓冲区大小
    gzip_buffers 32 4k;
    # 设置 gzip 压缩针对的 HTTP 协议版本
    gzip_http_version 1.1;
    # gzip 压缩级别,1-9,数字越大压缩的越好,也越占用CPU时间
    gzip_comp_level 6;
    # 进行压缩的文件类型,javascript 有多种形式。
    gzip_types       text/plain application/x-javascript text/css application/xml text/javascript application/x-httpd-php application/javascript application/json image/svg+xml;
    # IE 6 以下浏览器不启用 gzip (因为 IE 6 以下不支持)
    gzip_disable "MSIE [1-6]\.";
    # 是否在 http header 中添加 Vary: Accept-Encoding,建议开启
    gzip_vary on;

    include /etc/nginx/conf.d/*.conf;
}
conf
# default.conf
# 主域名 - 个人主页 (使用端口81)
server {
    listen 81;
    server_name mateogic.cn;

    root /usr/share/nginx/html/homepage;  # 指向homepage目录
    index index.html;
    charset utf-8;

    # 安全头
    add_header X-Content-Type-Options nosniff;
    add_header X-Frame-Options SAMEORIGIN;
    add_header X-XSS-Protection "1; mode=block";
    add_header Referrer-Policy strict-origin-when-cross-origin;
    add_header Permissions-Policy "geolocation=(), microphone=(), camera=()";

    # 主页路由
    location / {
        try_files $uri $uri/ $uri.html /index.html;
    }

    # 静态资源缓存
    location ~* \.(?:js|css|woff2|woff|ttf|otf|svg|png|jpg|jpeg|gif|webp)$ {
        try_files $uri =404;
        add_header Cache-Control "public, max-age=31536000, immutable";
    }
}

# 博客子域名 (保持端口80)
server {
    listen 80;
    server_name blog.mateogic.cn;

    root /usr/share/nginx/html/blog;
    index index.html;
    charset utf-8;

    # 安全头
    add_header X-Content-Type-Options nosniff;
    add_header X-Frame-Options SAMEORIGIN;
    add_header X-XSS-Protection "1; mode=block";
    add_header Referrer-Policy strict-origin-when-cross-origin;
    add_header Permissions-Policy "geolocation=(), microphone=(), camera=()";

    # 博客路由
    location / {
        try_files $uri $uri/ $uri.html /index.html;
    }

    location = /robots.txt {
        access_log off;
        log_not_found off;
    }

    # 静态资源缓存
    location ~* \.(?:js|css|woff2|woff|ttf|otf|svg|png|jpg|jpeg|gif|webp)$ {
        try_files $uri =404;
        add_header Cache-Control "public, max-age=31536000, immutable";
    }
}
注意 nginx/conf.d/default.conf 中两个 server:
listen 81; server_name mateogic.cn; root /usr/share/nginx/html/homepage;listen 80; server_name blog.mateogic.cn; root /usr/share/nginx/html/blog;
共同特性:
try_files $uri $uri/ $uri.html /index.html;兼容前端路由与静态直出。- 加了一组常见安全头(可继续拓展:
Strict-Transport-Security需在全站 HTTPS 后加)。 - 对
js|css|font|img等资源设置Cache-Control: public, max-age=31536000, immutable,配合指纹文件保证更新安全。
全局 nginx.conf:
- 开启
gzip on+gzip_static on,后者会在存在同名.gz文件时直接回源该文件(配合vite-plugin-compression)。 - 合理的
gzip_types与压缩级别6(兼顾 CPU 与体积)。
部署/更新步骤(概览)
- 推送代码到
main分支。 - GitHub Actions 自动执行:安装依赖 → 构建博客 → 指纹化主页 → 通过 SCP 同步到服务器
/root/blog/html。 - 容器无需重启即可生效(静态文件直接被新的覆盖)。
- 浏览器端长缓存资源因文件名指纹变化自动获取新版本。
其它
- 评论配置可通过 https://giscus.app/zh-CN 获取配置填充到
Comment.vue组件。 - 之后可能会添加画廊等功能。